I have been interested in photography for years, but I haven’t been taking the time to study the art of photography. I’ve been so busy focusing on study other things – mostly personal development topics – that I have no desire at the end of the day to study anything else.
Suddenly the desire to start studying food photography hit me. It happened yesterday when I was trying to take some pictures while making my homemade buns. The pictures I took didn’t make me happy and I couldn’t share them in a recipe post because they did not look appetizing to me.
If you look through some of my recipe posts, you will see that my pictures are lacking a lot… well, of everything, and it’s time to change that. I want to share more of my recipes on this blog, but I feel like there’s no point when everything looks so unappealing! I can’t get the message across of how good this stuff tastes in my pictures.
So, I’ve decided that I’m going to put much more time into studying photography going forward. It’s time I get better at it. My first stop was a food photography class with Leela Cyd on Skillshare.
Prepping A Photo Shoot With Leela Cyd
This Skillshare course on prepping a photoshoot was a short one, but it made me think of things I haven’t thought of when taking pictures of food.
Leela Cyd is a food photographer from Santa Barbara, California. She says that she creates food stories for magazines and cookbooks, as well as other places. You can check out her website here.
She says that this course is for anyone who wants to take their food photography to the next level. And she swears that food photography does not have to be a scary thing.
Leela says what we all think – if you are going to make something amazing, why not photograph it? This is so true, and I’m sure this idea inspires many Instagram accounts.
It’s also the point of this website. If I’m going to do something, why not write about it?
The problem is that while I photograph everything I make, it never looks appealing enough to share. So it’s not just about taking a picture, it’s about taking a good picture.
My Initial Picture Of My Hamburger Buns
Here’s the best picture of the buns I took when they came out of the oven last night. I have an actual camera that my parents and husband bought me for Christmas two years ago, but I’ve barely used it. Last night, I used my iPhone to take this picture.
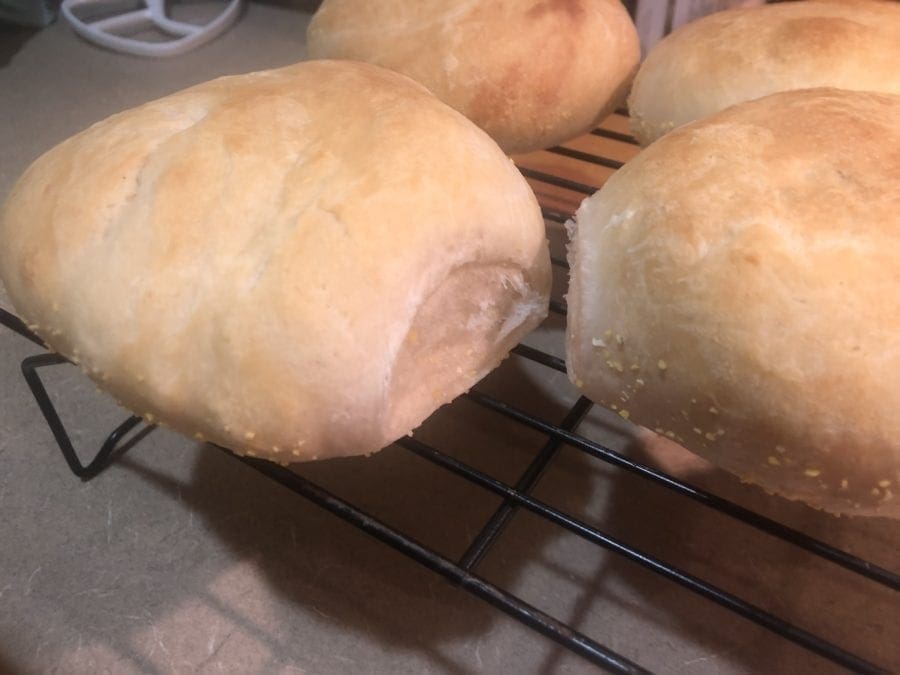
The rest of the pictures that I took during the process of making the buns were bad. Really bad. It didn’t make the baking process look appetizing at all, and it wasn’t something I wanted to publish.
What Leela’s Course Covers
It’s not a long course, but it covers how Leela preps for a photo shoot. Things talked about are:
- Finding the location to take your pictures.
- Gathering the materials for the picture.
- Figuring out what message you want to send in your picture.
- Deciding what props you want to use in your picture.
- How to set up your picture.
Editing The Initial Picture
Somewhere along the line, I read that you needed to have brighter light to take pictures of food. So I always try to turn off every single light I can when cooking and use that light for pictures.
Leela’s course made me realize that you don’t need to take a picture of everything with a bright light. I looked up some other people’s photos of hamburger buns and realized that most people use a darker tone to their pictures. So, I quickly edited my original picture and turned down the light, and I totally like this look better than the original picture.
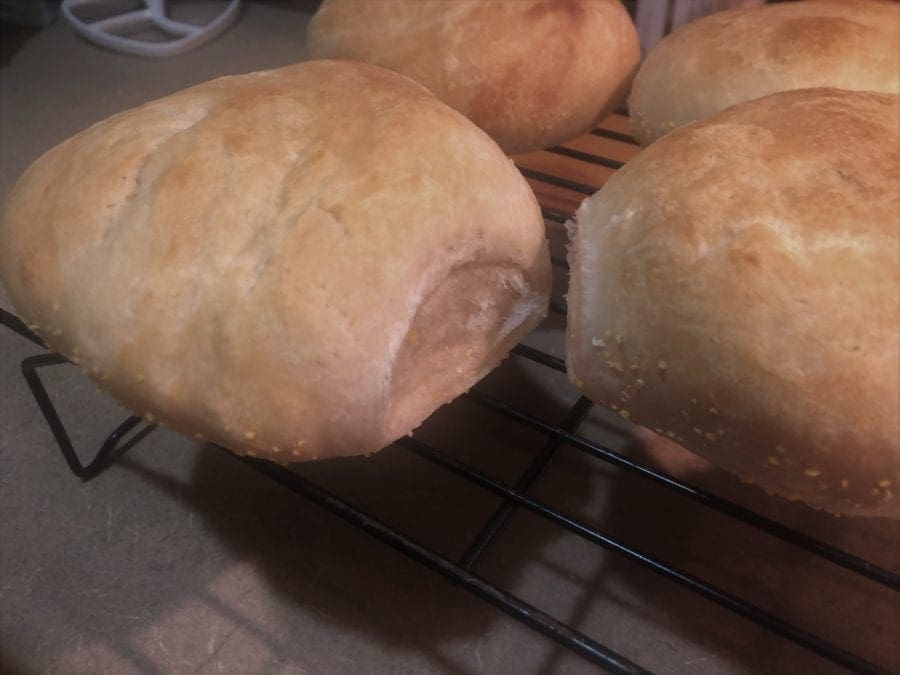
Quickly Playing With What I Learned From Leela’s Course
We had already eaten the two hamburger buns that I made in a perfect shape for our burgers yesterday. But, I still wanted to try a quick setup with something thinking about what she taught in the class.
I threw some squished buns on a board, put some ketchup and mustard in a container, and added the Violife slices that we used last night, and it already looks better to me.
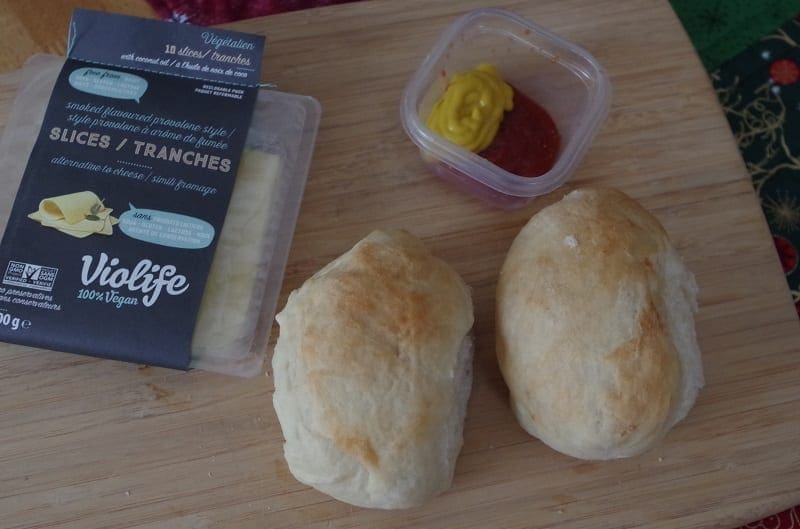
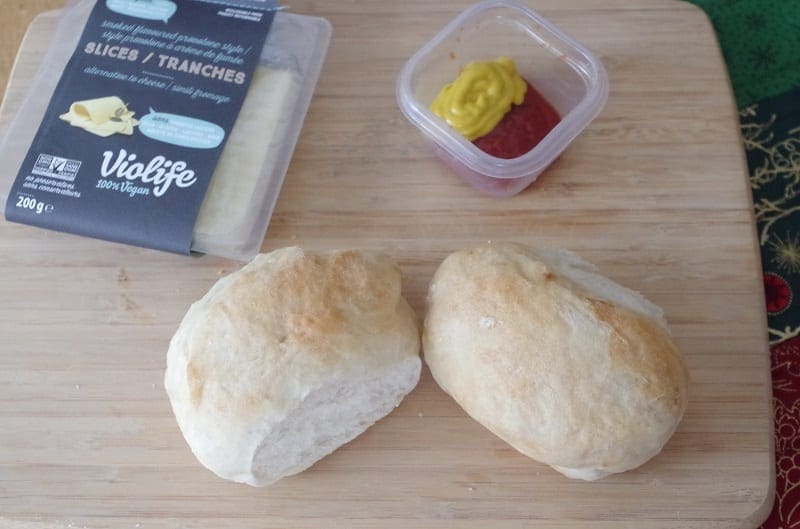
Obviously, I could find a much better container for the condiments and not have ketchup squirted everywhere, and I could take the cheese out of the container so that it just looks like cheese and doesn’t distract from what the focus was supposed to be – the buns. And I can add other things that represent a good burger into the shot. But I definitely like this set up better than just taking a picture of the buns straight out of the oven on the cooling rack.
Also, I played with the light a bit, and I still like the darker shot over the lighter shot, but Leela had some tips in her course for playing with the light that I’m going to try going forward. For instance, my husband has one of those big stand-up lights for recording videos, and I’m going to try using it the next time I want to take a food shot.
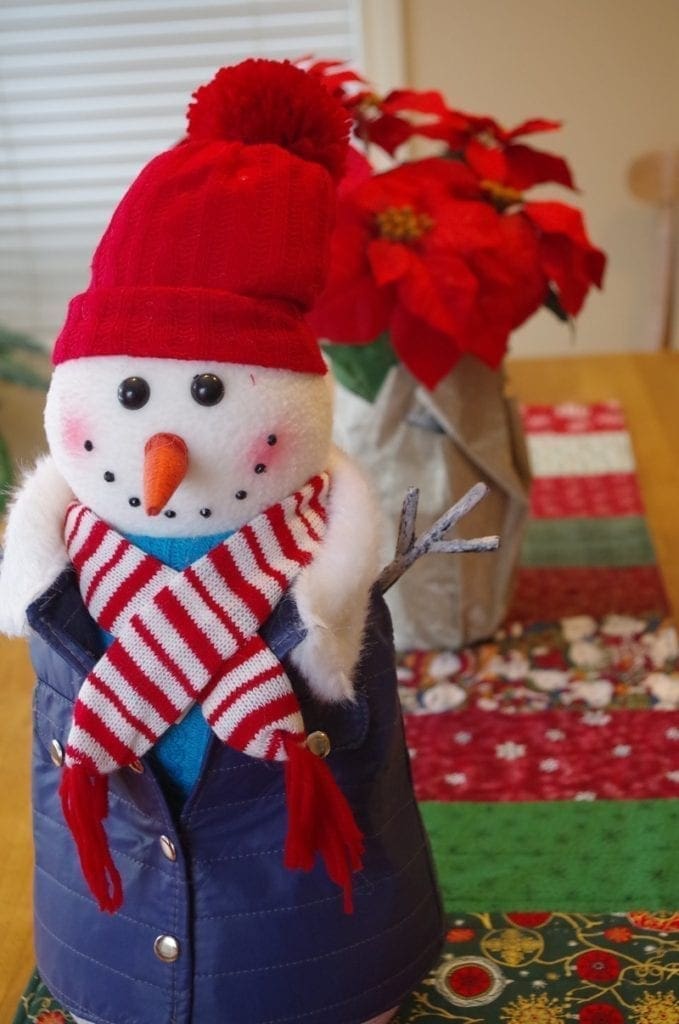
I even decided to take a picture of a Christmas decoration we put out and I like it better than the picture I took of it last night. Although the more I think about it, I could set this up even better because it looks like he could be missing his right twig hand!
I have a long way to go with my food photography and photography in general. I’ve had years to practice and haven’t. That’s frustrating as hell to me. But I’m excited to start working on it going forward.
Leela has a few other classes that I’m going to take on Skillshare, including Shooting in 5 Styles and Creating Your Unique Story.
