Before the pandemic, I went to my nail salon at least once per month. I used to get mostly acrylic nails, but just before the pandemic started, I had dip powder done a few times. I didn’t like the thickness of it, but I did like that it was supposed to be somewhat healthier than getting the acrylics. At least that’s what my nail technician told me repeatedly. Throughout the pandemic, I didn’t get my nails done once. I thought about doing them at home, but never did. Then on Christmas, I got the Gershion Nail Dip Powder Kit as a present. Turns out, I suck at doing dip powder nails at home, but I’m planning on getting better.
What The Gershion Kit Includes
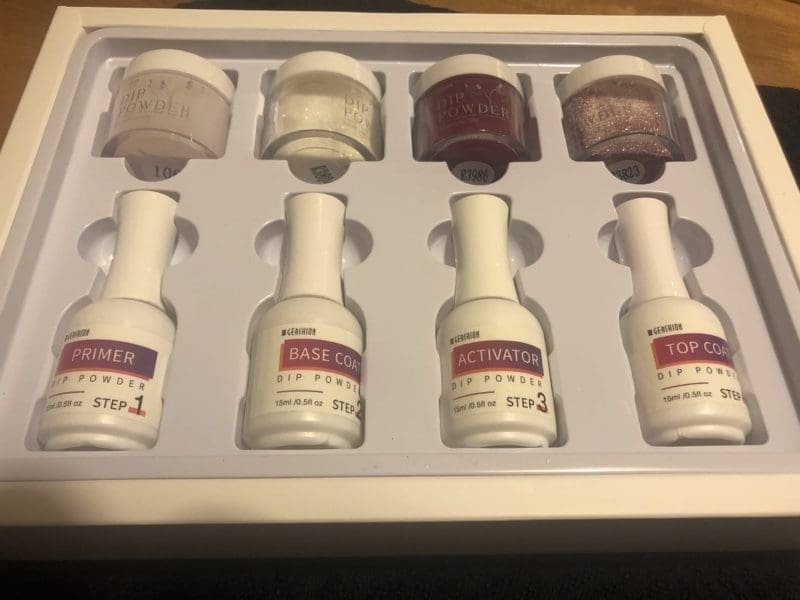
As far as I can tell, this dip powder kit includes everything you need to do dip powder nails. It includes the primer, base coat, activator, and topcoat, plus two solid colors and two sparkly colors.
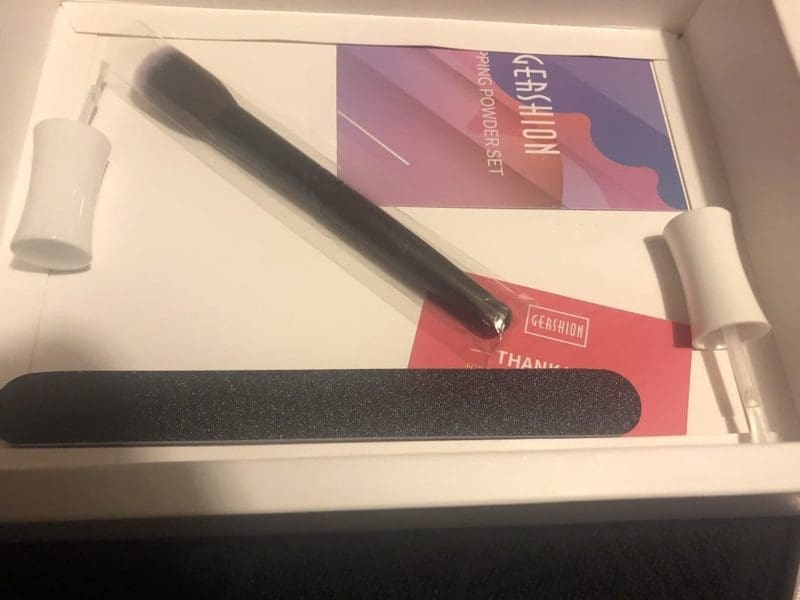
It also includes a nail file, a brush to tap and brush off excess powder, and two extra nail brushes.
And it includes instructions on how to put your dip powder on.
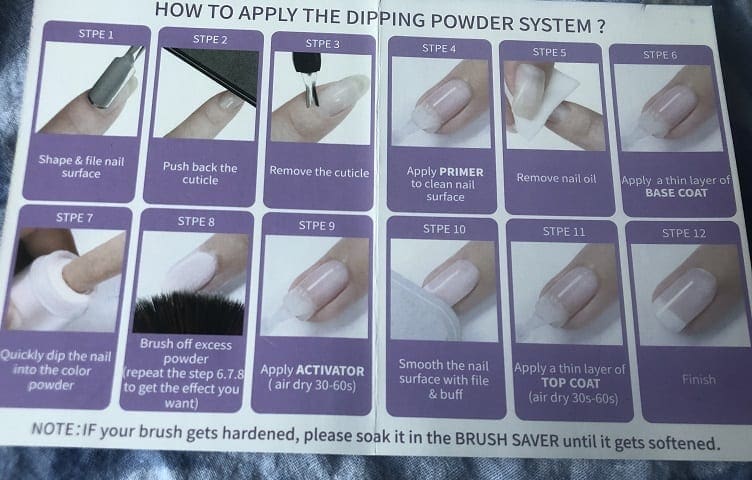
Although, at the bottom is says that if your brush gets hardened you should soak it in the brush saver – as if they included a brush saver with the kit… but they didn’t. So, I’m not sure if I just didn’t get it with MY kit or what.
My First Time Doing Dip Powder Nails At Home
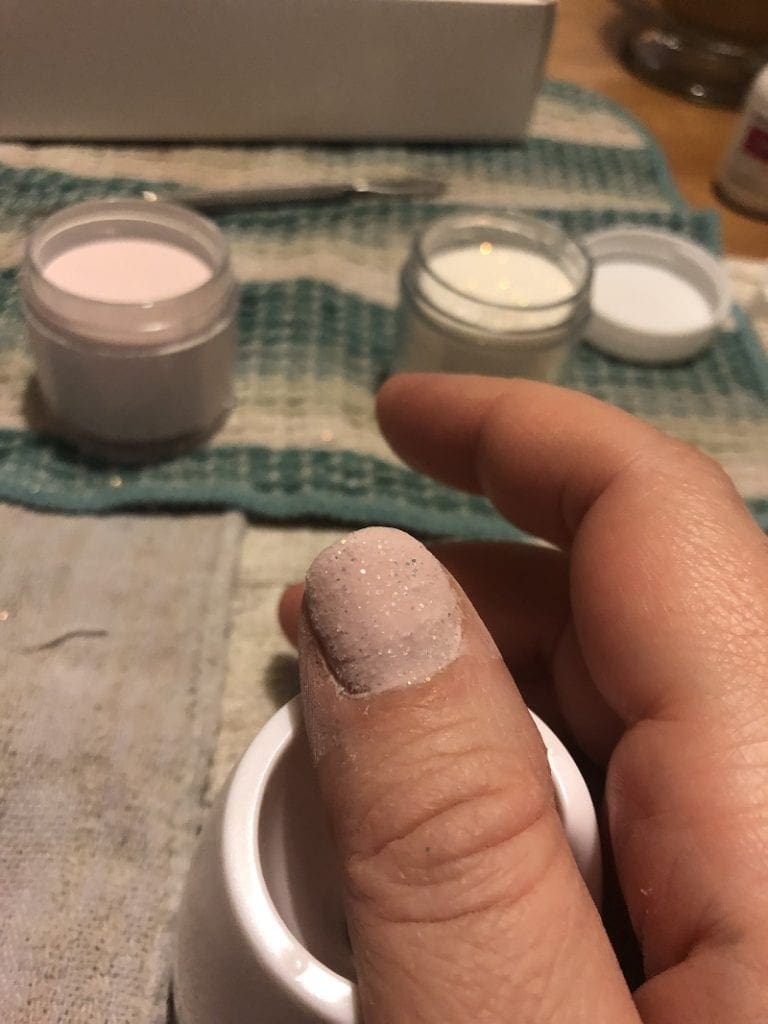
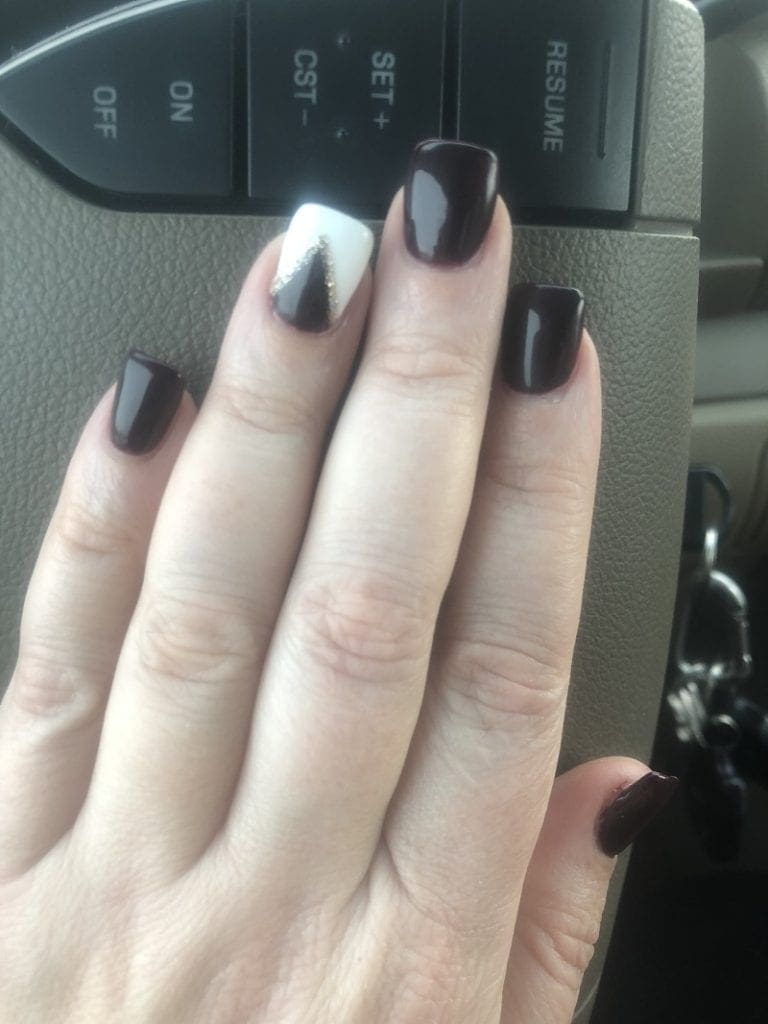
In any case, the instructions look easy, right? So why did my nails come out like THIS the first time I did them?
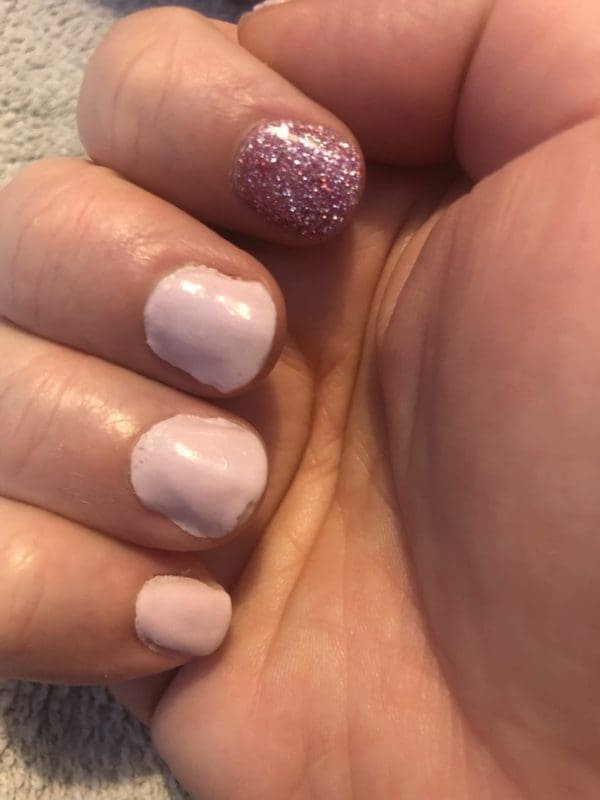
I had dip powder everywhere! It was on my nail, around my nail, and everywhere else. The only nail that came out OK was the purple sparkly nail on my pointy finger.
I thought that because I had them done a few times in a salon, I knew what I was doing, so I didn’t watch one tutorial video before going into this.
A few mistakes I made:
- I didn’t brush off the excess powder. I’m not sure why I didn’t, but I was scared to take it off my nail. So I tapped my finger and that was about it.
- I dipped my whole nail into the powder and went too slowly. It seems the slower your go, the more powder attaches itself to the nail.
- I was trying to dip too far back. I wanted the color to come right to the end of my nail bed, and it caused too much powder to build up at the end of my nail.
- I didn’t clean up my cuticles beforehand, so the powder went on and above some cuticles making it very raised at the bottom of some nails.
- I dipped too many times. For some reason, I thought you had to dip 4 times to get the nail covered. I think I had briefly seen someone doing that throughout the year, so I thought it was the right thing to do. I don’t know what I was thinking. It was way too thick, especially with dipping so slowly into the powder.
- I didn’t file them down after they were done. I thought that was going to hurt something. The problem here was ignorance and not thinking things through. I’m used to being at a salon where I don’t need to pay attention to what’s happening or, mostly, why it’s happening, so my ignorance shone through here. I should have filed down the bumps.
I decided to leave them on because I wasn’t going anywhere for a few days and they were less likely to get jagged like my real nails. I’ve been scratching myself in my sleep lately, so I need some thicker, even nails that don’t cut through me like razor blades!
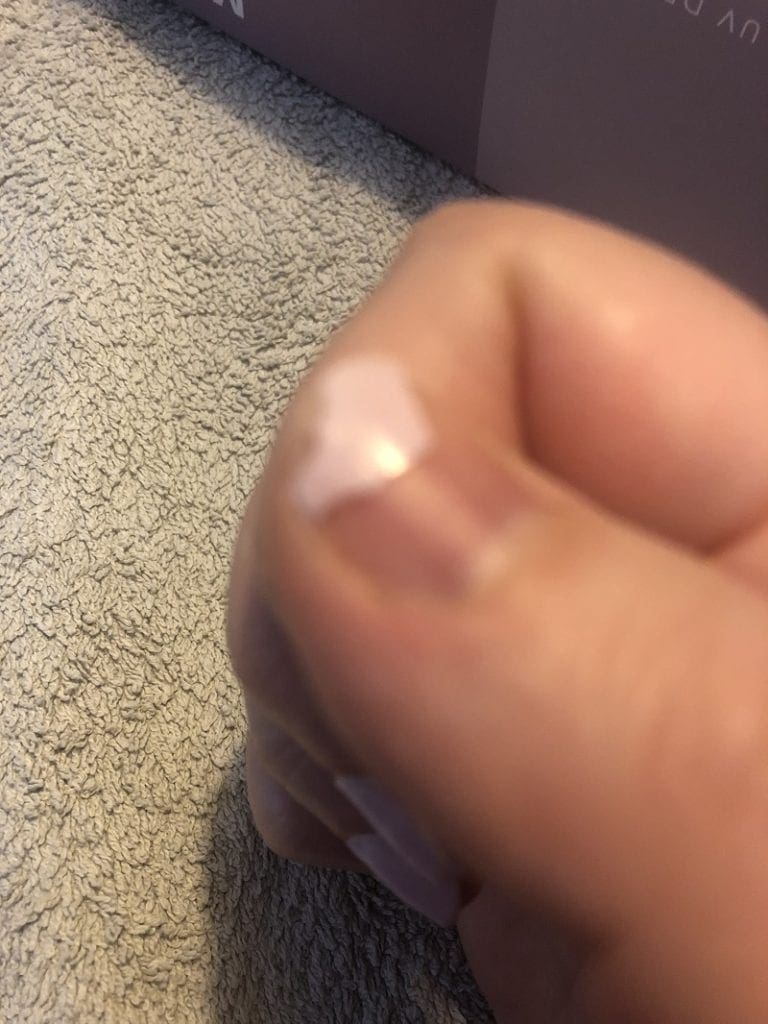
But my thumb cracked in half after a few days. I’m assuming because it was lifted over my cuticle. (The focus is everywhere but on my nail, but you get the point.)
Things You Need Besides The Dip Powder
I had to buy acetone to get my first attempt off, but I also bought this manicure nail file set.
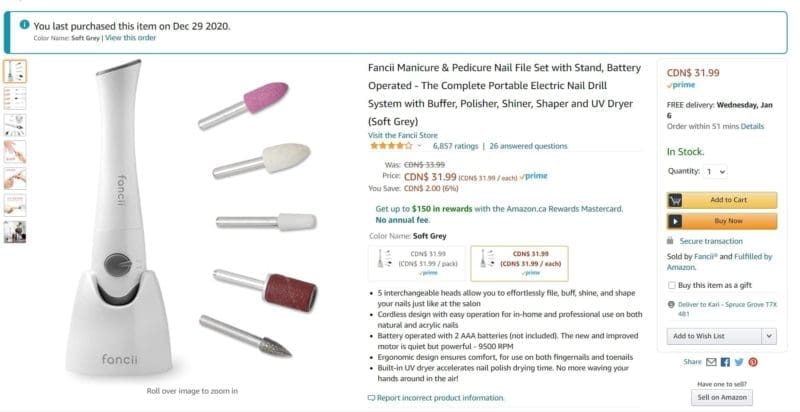
For me, I don’t think my nails would ever come out good without this kit. I don’t like that you can’t adjust the speed on this drill, but I do like that I can clean up my nails with this drill and file down my nail dip powder so that’s it doesn’t look like a thick blob if I put it on too thick.
My Second Time Doing Dip Powder Nails At Home
After my first disaster, I decided that I needed to spend some time watching videos to help me do a better job with my dip powder nails. I would say that these ones helped me the most.
I also read about dipping 3/4 of your nail the first time and then all the way the next time, which helps to avoid the thickness around the bottom of your cuticle.
I also realized that my cuticles needed a better cleanup before I used the dip powder. Even though I’ve had my nails done a million times, this is not something I worried too much about my first time using the dip powder… and I should have. It makes a difference to have the cuticles pushed back and tidy.
I bought a cuticle pusher and some vitamin E cuticle oil and once I had everything in place, I did my nails a second time.
Here’s my first dip, and after telling myself to do the 3/4 dip, I forgot to do the 3/4 dip.
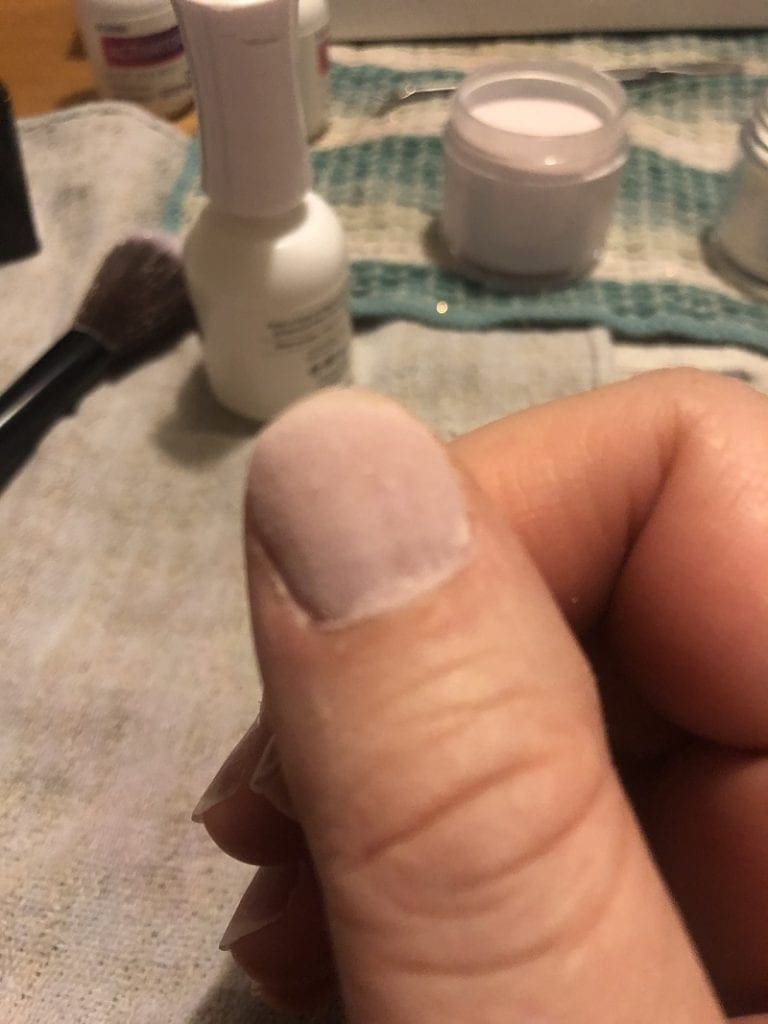
Since I forgot the 3/4 dip the last time, I did it on the second dip. It doesn’t look great.
You can clearly see the lack of dip powder on the bottom half. Then I dipped into the sparkly stuff.
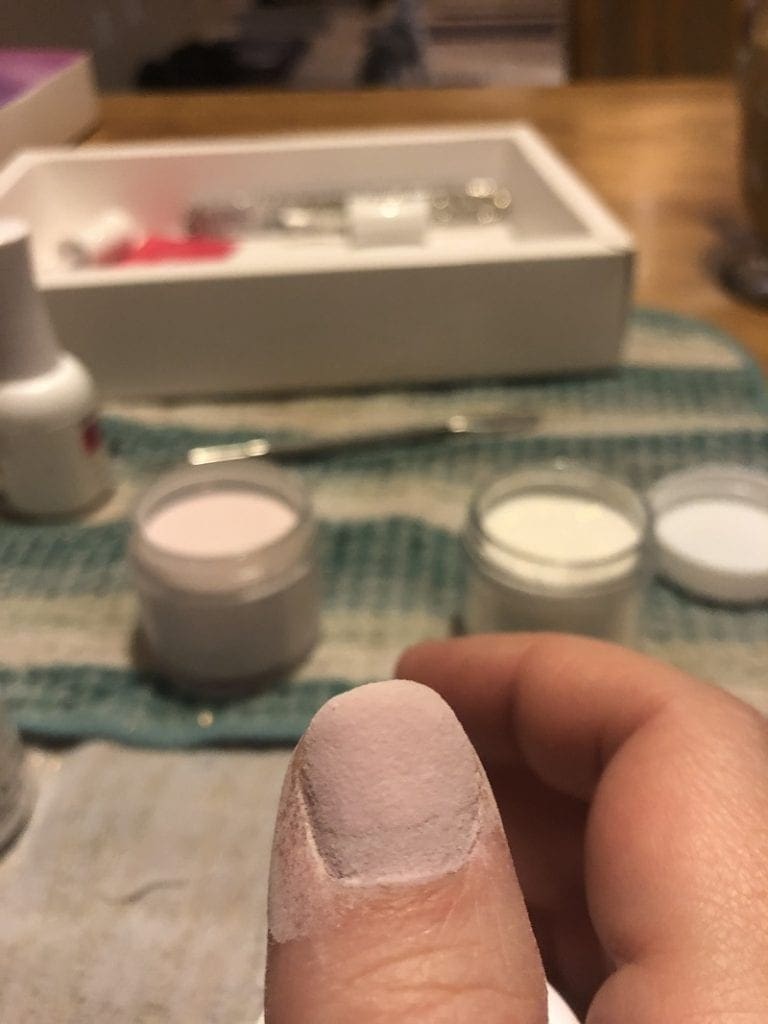
You can still see the lack of dip powder on the bottom 1/3. I dipped it again and called it a nail.
For the rest of the nails, I tried to remember to do 3/4 first and then the whole nail on the second dip. then I put my nail in the sparkly powder once or twice, depending on what I was seeing and how I was feeling about it, and that was it.
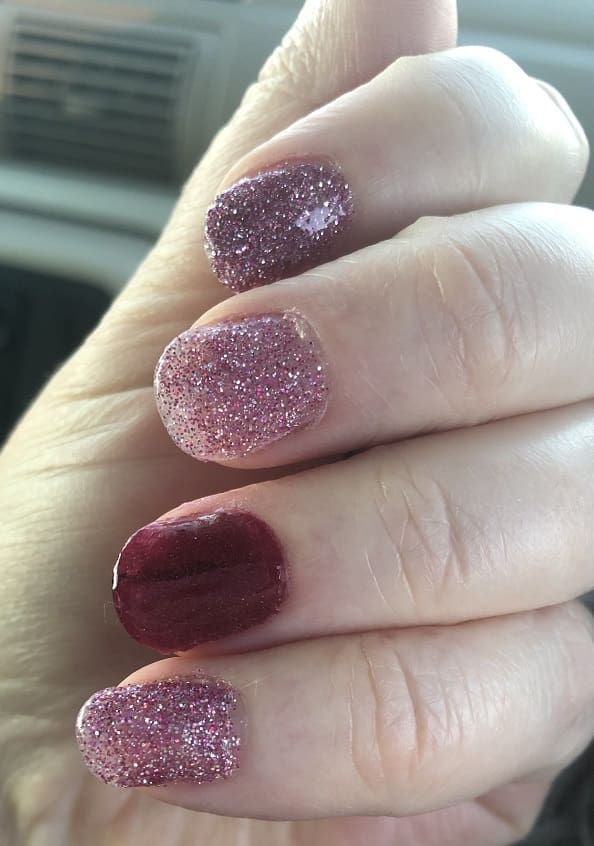
This is how they came out.
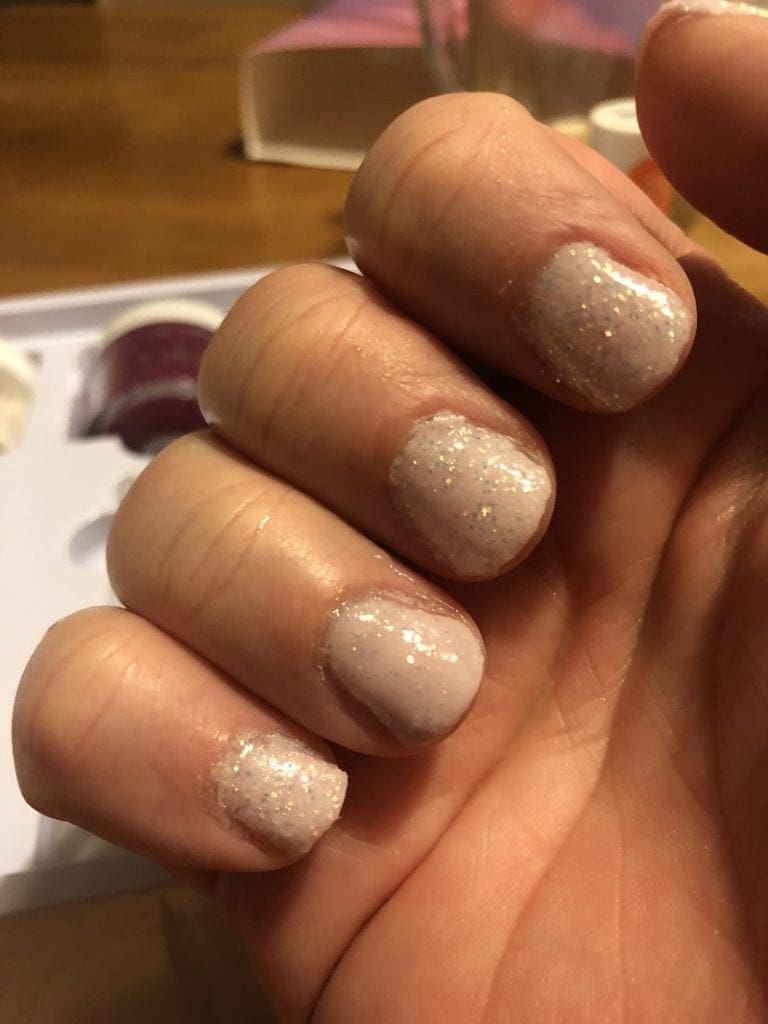
They don’t look great in the picture, but they are way better than my last attempt at the dipping powder. And from far away, they don’t look half bad.
They don’t look great, but they don’t look as bad as they did last time.
I think with practice and more tutorials, I will get better.
Doing It At Home Versus Nail Salon
Even though my dip powder nails don’t look great, I’ve decided that I prefer to do them at home. There are a few reasons why.
- My nail tech was dipping my fingers in the shared dip powder. I didn’t like it, but I didn’t say anything because that’s obviously how they were running their dip powder system. I’ve learned how unsanitary it is to do that now, and the thought of what else they use between clients has me cringing after a long pandemic. I was a germaphobe before the pandemic, and I didn’t like that they didn’t clean their tools between clients (I think I’ve only been to one nail salon that actually cleaned their stuff between clients) but now I just won’t settle for doing things that could infect me when I don’t need to do them.
- It’s satisfying to do your own nails. It’s pampering to get them done at the nail salon, but looking down at your nails and knowing that you did them (even if they do look like big blobs) means something more.
- It costs much less. I paid at least $80 a pop for my nails every time I had them done. I’m seeing a ton of dip powder sets on Amazon for $40 and under. After dipping my nails twice in my current dipping powder kit, I still have so much powder left over. I’m thinking I can fit in 30 dip powder nail sessions at least. Probably more. After you buy the equipment that you need, it’s just more cost effective to do them at home.
- You don’t have to talk about nonsense. I’m not someone who enjoys talking to my nail technician about nonsense stuff. I find it draining, especially when I just want to go and get pampered and have my nails done. But, my main girl liked to talk and talk and talk, and, in fact, anyone else I saw was the same. I know some people like knowing their nail technician and chatting it up… I’m not one of them.
Of course, doing them at the salon has its advantages.
- The biggest advantage of doing them at the salon is that they look good. The first time I had dip powder done at the salon, they were too thick for my liking, but they still looked good to me. I had a French manicure done. I can’t find a picture of them, though, which is weird because I always took a picture of my nails after they were done.
- The second biggest advantage of going into the salon is the time. My appointments for all my nails usually lasted about an hour and a half or a little more. At home, I did one hand for an hour and a half and then waited to do the next hand the next day. It took me about an hour the next day. And I would need about an hour or more to get the old dip powder off my nails if I wanted to do something new. If I were in a time crunch, I would definitely need to head to the salon to get them done.
- More selection. I have white sparkly, pink, purple, and purple sparkly. That’s it. At the salon, you get to choose from almost any color and combination.
I remember my nail tech telling me that dip powder nails could only be done in the salon and that there was a lot of training needed in order to do them correctly. She was a really good nail technician for me, so I kind of believed her. Although, she was really pushing the dip powder. She had bought every single color known to humankind, so I’m assuming she wanted to make some profit on that stuff.
But now that I’ve done them at home a few times, I think it boils down to practice. The more I do them, the better I will get. The more mistakes I make, the more I will learn what NOT to do and what I do need to do.
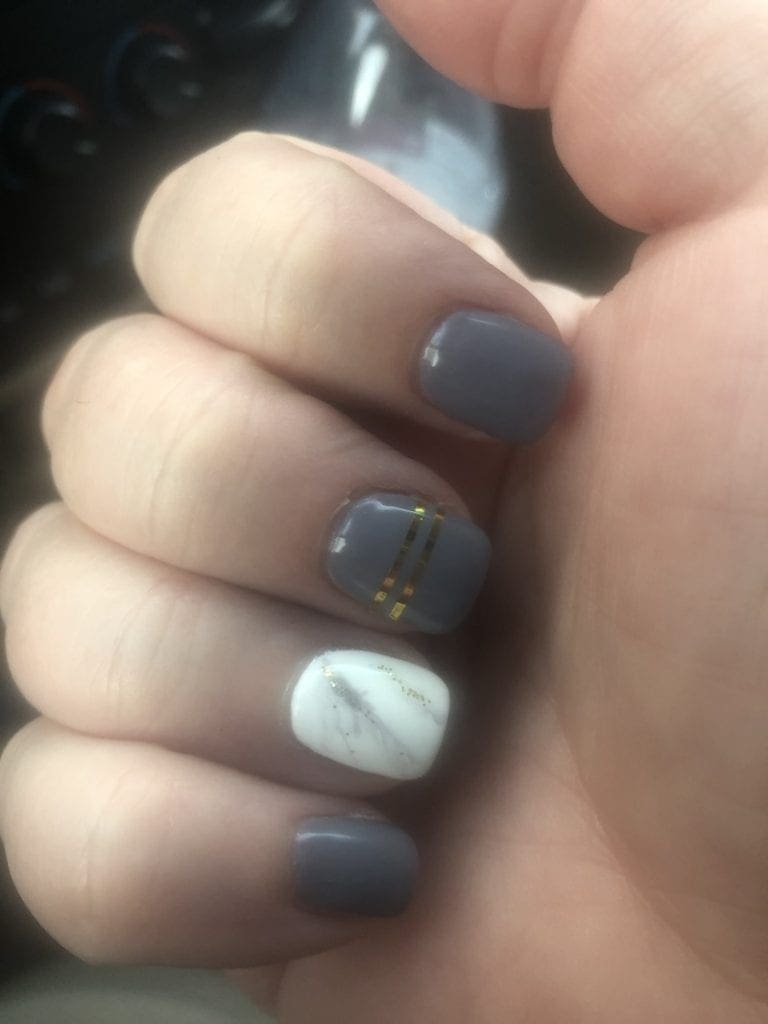
If I want acrylics, I will definitely go into the salon because I always like to get designs. In fact, looking at pictures of some of my 2019 nails makes me want something more than just pink sparkles!
I especially liked these two.
But, like I said, I don’t like the fact that dip powder is shared between clients. So, for now, I’m going to practice with the dip powder I have and see how good I can get at it by the end of 2021. I hope to hell it’s a LOT better!
If You Are New To Dip Powder
If you are new to dip powder at home, I recommend watching tutorials, so you don’t screw up the first time as I did.
Also, take your time. Don’t rush it because even though it looks easy when you watch a tutorial, you don’t want to rush it when you are a newbie. I found the slower I went, the better my nail turned out.
I do recommend having some sort of grinder to grind down your dip powder if you lay on the powder too thick. It also helps smooth everything out if you have bumps here and there.
And get a good top coat. The topcoat that came with the dip powder kit is OK, but it doesn’t make my nails look like they do after a salon top coat gets put on. I’m going to invest in something better for the next time I do my nails.
Lastly, when you brush off the extra powder, be gentle around your nail. I brushed off whole chunks of dip powder on my nail a few times and it didn’t make me happy.
If you have any suggestions for doing dip powder at home, please leave them in the comments below.
Update: Third Time Doing Dip Powder
The nails I did above lasted two weeks, except for one of my pointer fingers – the dip powder came clean off on that one. I must not have put enough base to hold it down.
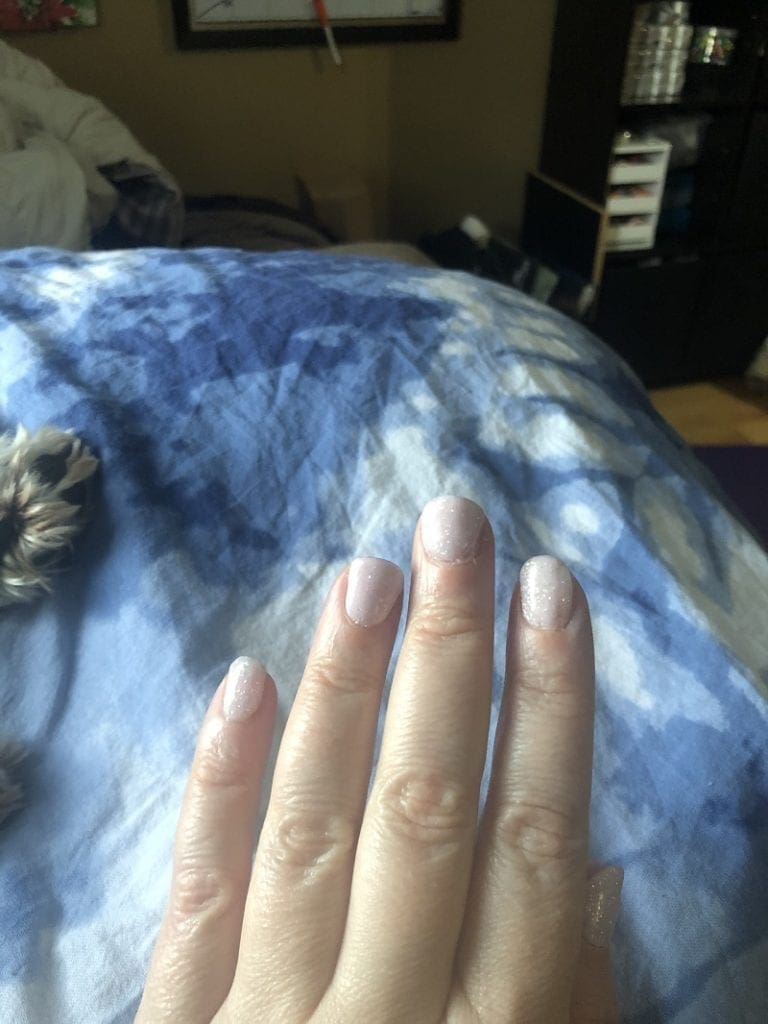
Last night I did my third attempt and I think I’m getting better at it.
I missed some here and there and added too much here and there, but all in all, I’m happy with it. And, the other nails looked good far away, but these nails look really good far away. That’s how everyone will see them for sure. I did them a little thinner this time. Full dips two to three times depending on the nail. I also filed it down a bit to get rid of any bumps, and I’m happy with it. Also, I only used the top coat that came with the kit this time and I’m liking it. I guess my nails were too bumpy before to give me the shine I was looking for. I’ll definitely buy another one of these kits.


