Last Updated on October 4, 2023 by Kari
I recently purchased the yearly subscription to Canva because I like it so much. There are a few different ways I like to use it and I’m sure as I go along in the year, I’ll find new ways it works for me. But, for now, let’s talk about the 4 ways I get the most value out of it.
1. Blog Pictures
I haven’t been writing a lot of blog posts that require pictures lately, but if I ever do get blogging on a regular basis again, Canva is going to be invaluable.
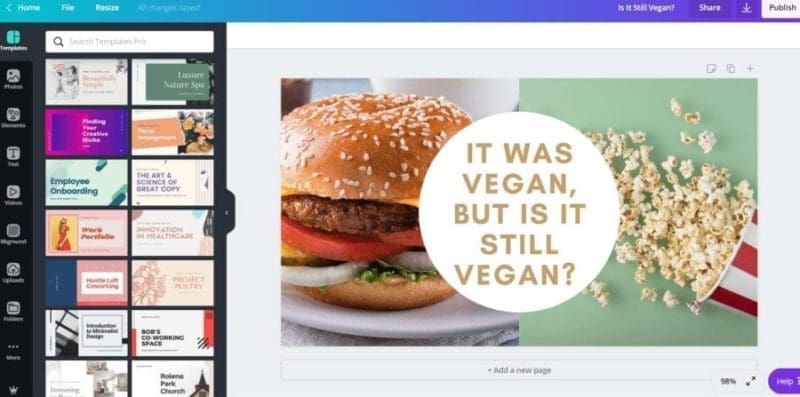
For instance, I made this pic for my blog post on how the food that was once vegan can easily be changed to non-vegan food.
It took me two seconds to make this picture.
It’s important to note that I do have a subscription to Bigstock as well.
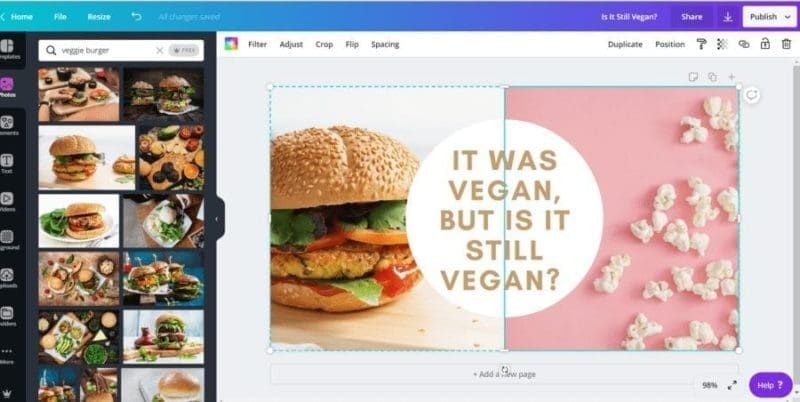
But, Canva does have a lot of pictures that you can choose from. In fact, when scrolling through the pictures now, I can see that I could have grabbed a veggie burger and popcorn picture from there instead of Bigstock.
In fact, I found a ton of pictures to use as you can see in the following screenshot. I searched for a veggie burger and was surprised at how many there are. You can see my new pictures slid into the picture from Canva in the following screenshot.
It’s So Easy To Create A Blog Picture
First, I picked a template with side by side pictures and a circle with writing in the middle.
Then I went to Bigstock and picked a veggie burger picture and a popcorn picture and downloaded them.
I uploaded those pictures into Canva and slid them into the spots in the template.
Then I changed the writing on the circle to match my blog post.
Done!
Took me a total of five minutes, if that.
Canva Pro has a ton of templates to choose from and you can easily delete and replace elements with whatever you want. It helps you make a unique blog picture without a lot of effort.
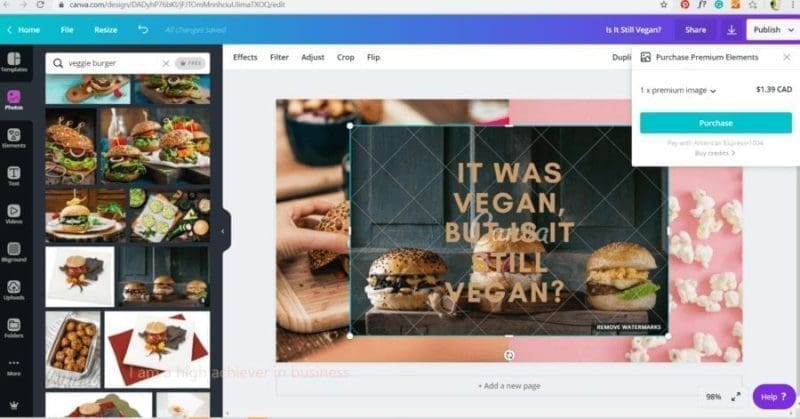
Not all pictures are free on Canva, even with the pro version. If you see a $ on a picture, it means it’s going to cost something. In the following screenshot you can see I slid the picture with the dollar sign into my picture and it would cost $1.39 CAD if I want to use it.
Update April 2020: It seems like all pictures that used to be labeled as premium are now free to people with a pro membership. The last time I signed into Canva, I had a message appear that we now had free access to all the pictures that used to cost money, and as I’ve been scrolling through Canva continuously since and I haven’t seen one element or picture that costs anything! In short, all of Canva’s premium images and elements are available for free to people with a pro membership now. That’s amazingly awesome, and I may be rethinking my Bigstock subscription next month because there are so many options on Canva now!
We’ve just unlocked our entire content library for all Canva Pro users! 🎉 Say hello to everything that we have to offer at no extra cost. You can even get another 30-day trial if you’re on a free account👌Try it out here! https://t.co/ygYRcgjO7r pic.twitter.com/0a3ZhNQHsq
— Canva (@canva) April 6, 2020
2. Pinterest Pictures
This is what actually got me to buy the yearly subscription at first. I wanted to learn more about Pinterest this year, and one of the teachers I was watching on Skillshare talked about using Canva. She showed how easy it was to make a Pinterest worthy picture through Canva and I was sold!
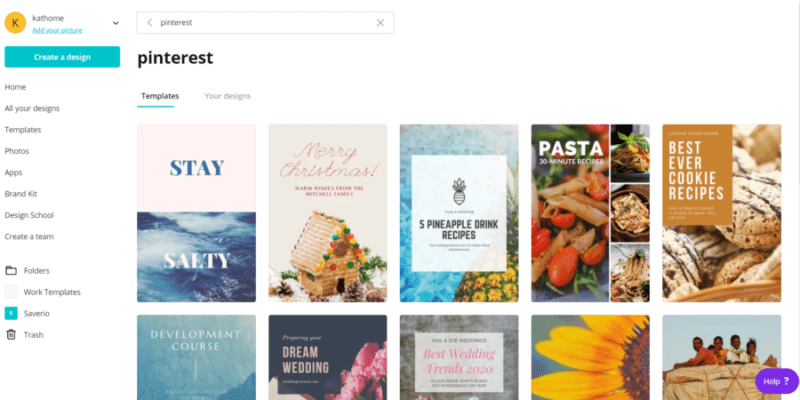
You can easily search for Pinterest templates in the Canva search bar.
Then you just pick a template you like and make it look however you want.
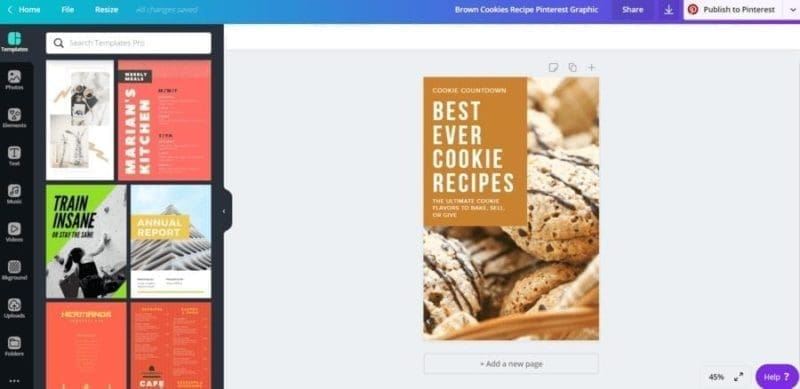
For example, you can go from this…
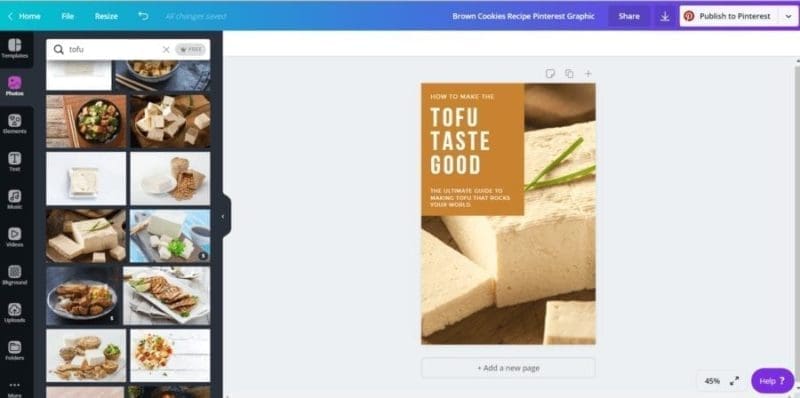
To this.
And as you can see on the top right, there is a ‘publish to Pinterest’ button. So you can publish directly to Pinterest and then go into Pinterest and add your URL. Canva gives you the ability to fill in a description directly from Canva before you publish it.
Cool, right?
You can also publish directly to your Facebook page, Facebook group, or Slack (I have no idea what Slack is though).
3. Cricut Designs
After I bought my subscription to Canva I noticed that they had a tool that helps to remove the background of a picture.
Even though Cricut design has a background removal tool, I don’t find it works that well in a lot of cases. It’s sometimes very tedious to go in and try to remove the background around edges and in between letters. Canva’s background remover works really well.
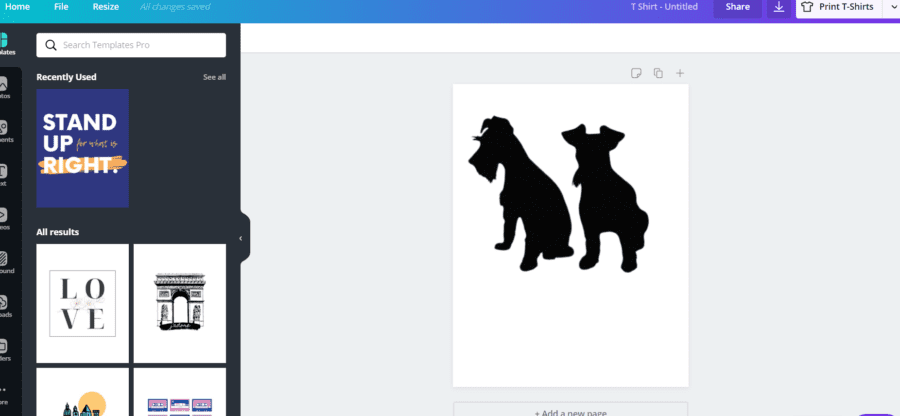
The last time I used this was for a pillow I made with iron-on. I wanted a Schnauzer picture, and I found a picture on the internet with a whole background in it. I uploaded it to Canva and clicked erased the background and was left with two cute Schnauzer silhouettes that I could use for my pillow.
Then I just uploaded the picture into Cricut and cropped out the silhouette that I didn’t want to use.
Here’s my pillow.
I’ve done this with a few different designs that I’ve made over the past few months and it works really well.
I have noticed that sometimes Canva can’t find a background when it’s just a color background that you want out. But, there’s always plenty of different designs you can pull in and try if that happens. If it doesn’t work, find something else and try again.
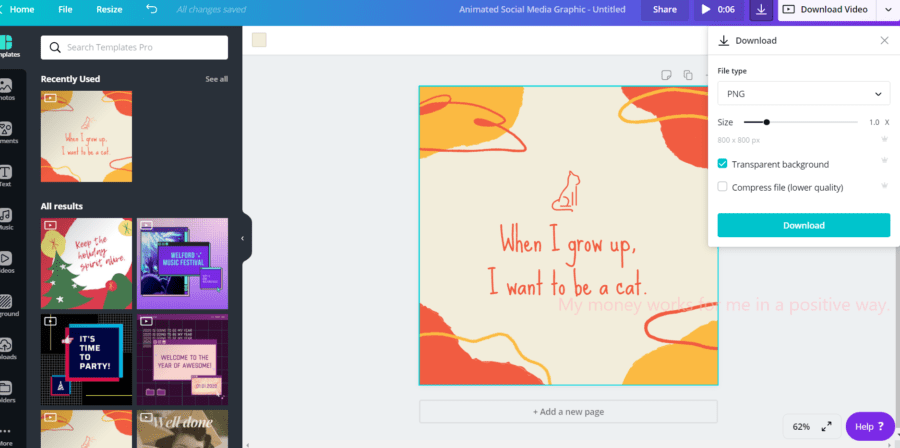
Also, I download any pictures meant for Cricut with a transparent background. Canva Pro members get this option when we are downloading our pictures and I love it!
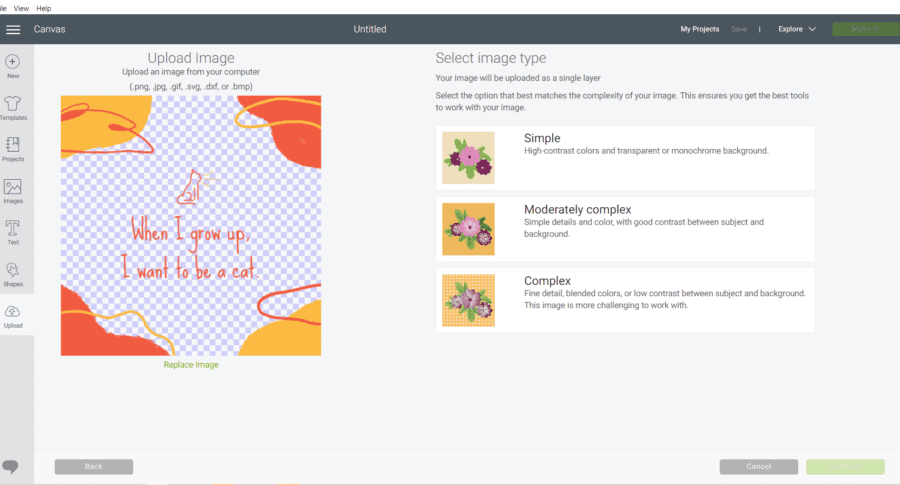
When I upload it into the Cricut dashboard, you can see that the background color is gone! It makes it easier to work with the elements the way I want to work with them.
4. Lifebook
I talked about using Canva in my Lifebook Online review, but I wasn’t using the pro version of Canva then.
Over the years in Lifebook groups, I have seen some people use Canva in amazing ways.
One woman was even creating entire templates for each category and sharing them with the group so that everyone could go to Canva and edit the templates to fit into their Lifebook. It was pretty awesome.
But, I have seen all kinds of ways that people use Canva to create the pages in their Lifebook and it’s pretty amazing.
You can even find and edit a quick habit tracker on Canva for free. For instance, here’s a template you can use to keep track of one weeks worth of habits. (You do have to create a free account to use and edit it.) But there are many different monthly, weekly, and daily templates, so check it out.
I’m working on rebuilding my Lifebook now that I have Canva pro. I’ve gotten better at using Canva. And, I have more pictures and elements available to me because of the pro subscription, so it’s going to be a much more detailed and prettier Lifebook all around.
You can check out the difference between the free Canva and the pro version here on the pricing page. As you can see, they say there are 52,000 more templates with the pro version than with the free version and millions of more photos and graphics. And you can upload your own fonts and logos. It’s a huge difference.
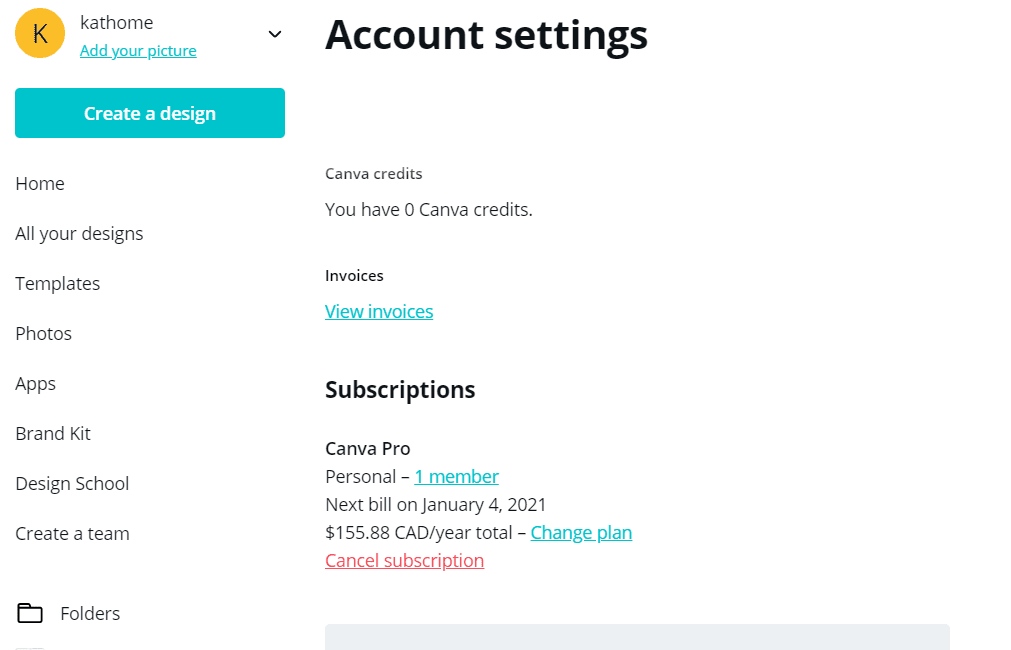
As you can see in the screenshot below, it was $155 CAD for the year which works out to be about $13 per month.
A month into my pro membership, I’m just scratching the surface of what Canva can be used for. I used the free version for a while, but now that I’ve experienced the pro version, I wouldn’t go back to free ever.
Update: Two Years Later With Canva Pro
I still use Canva pretty much every day.
I mostly use it for blog pictures, but I’ve been using it to edit videos and create GIFs, and to post to social media too.
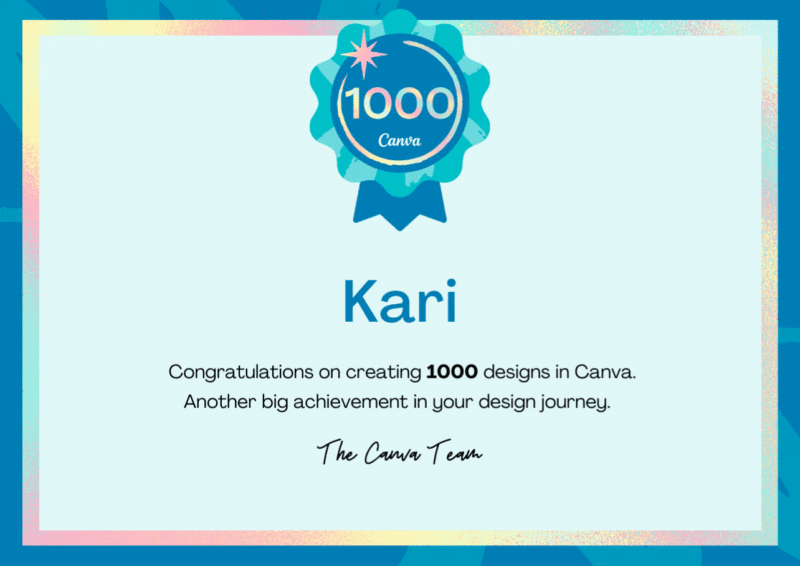
I just got a fun certificate from Canva for creating 100 designs.
I will never get rid of Canva as long as I’m doing creative things… which will be forever.
Other Canva articles:
The One Thing I Wish The Canva Video Editor Had
Canva’s Audio Editor Is Getting Better
How To Make A Vision Board For Your IPhone’s Wallpaper With Canva
Canva’s Text To Image App: Similar To Jasper’s AI Text To Image
Using Canva To Create Some Planner Inserts
Canva’s Magic Studio Has A New Feature Called Magic Write
